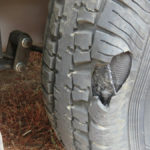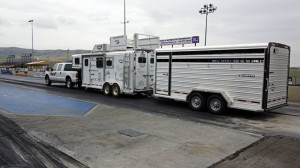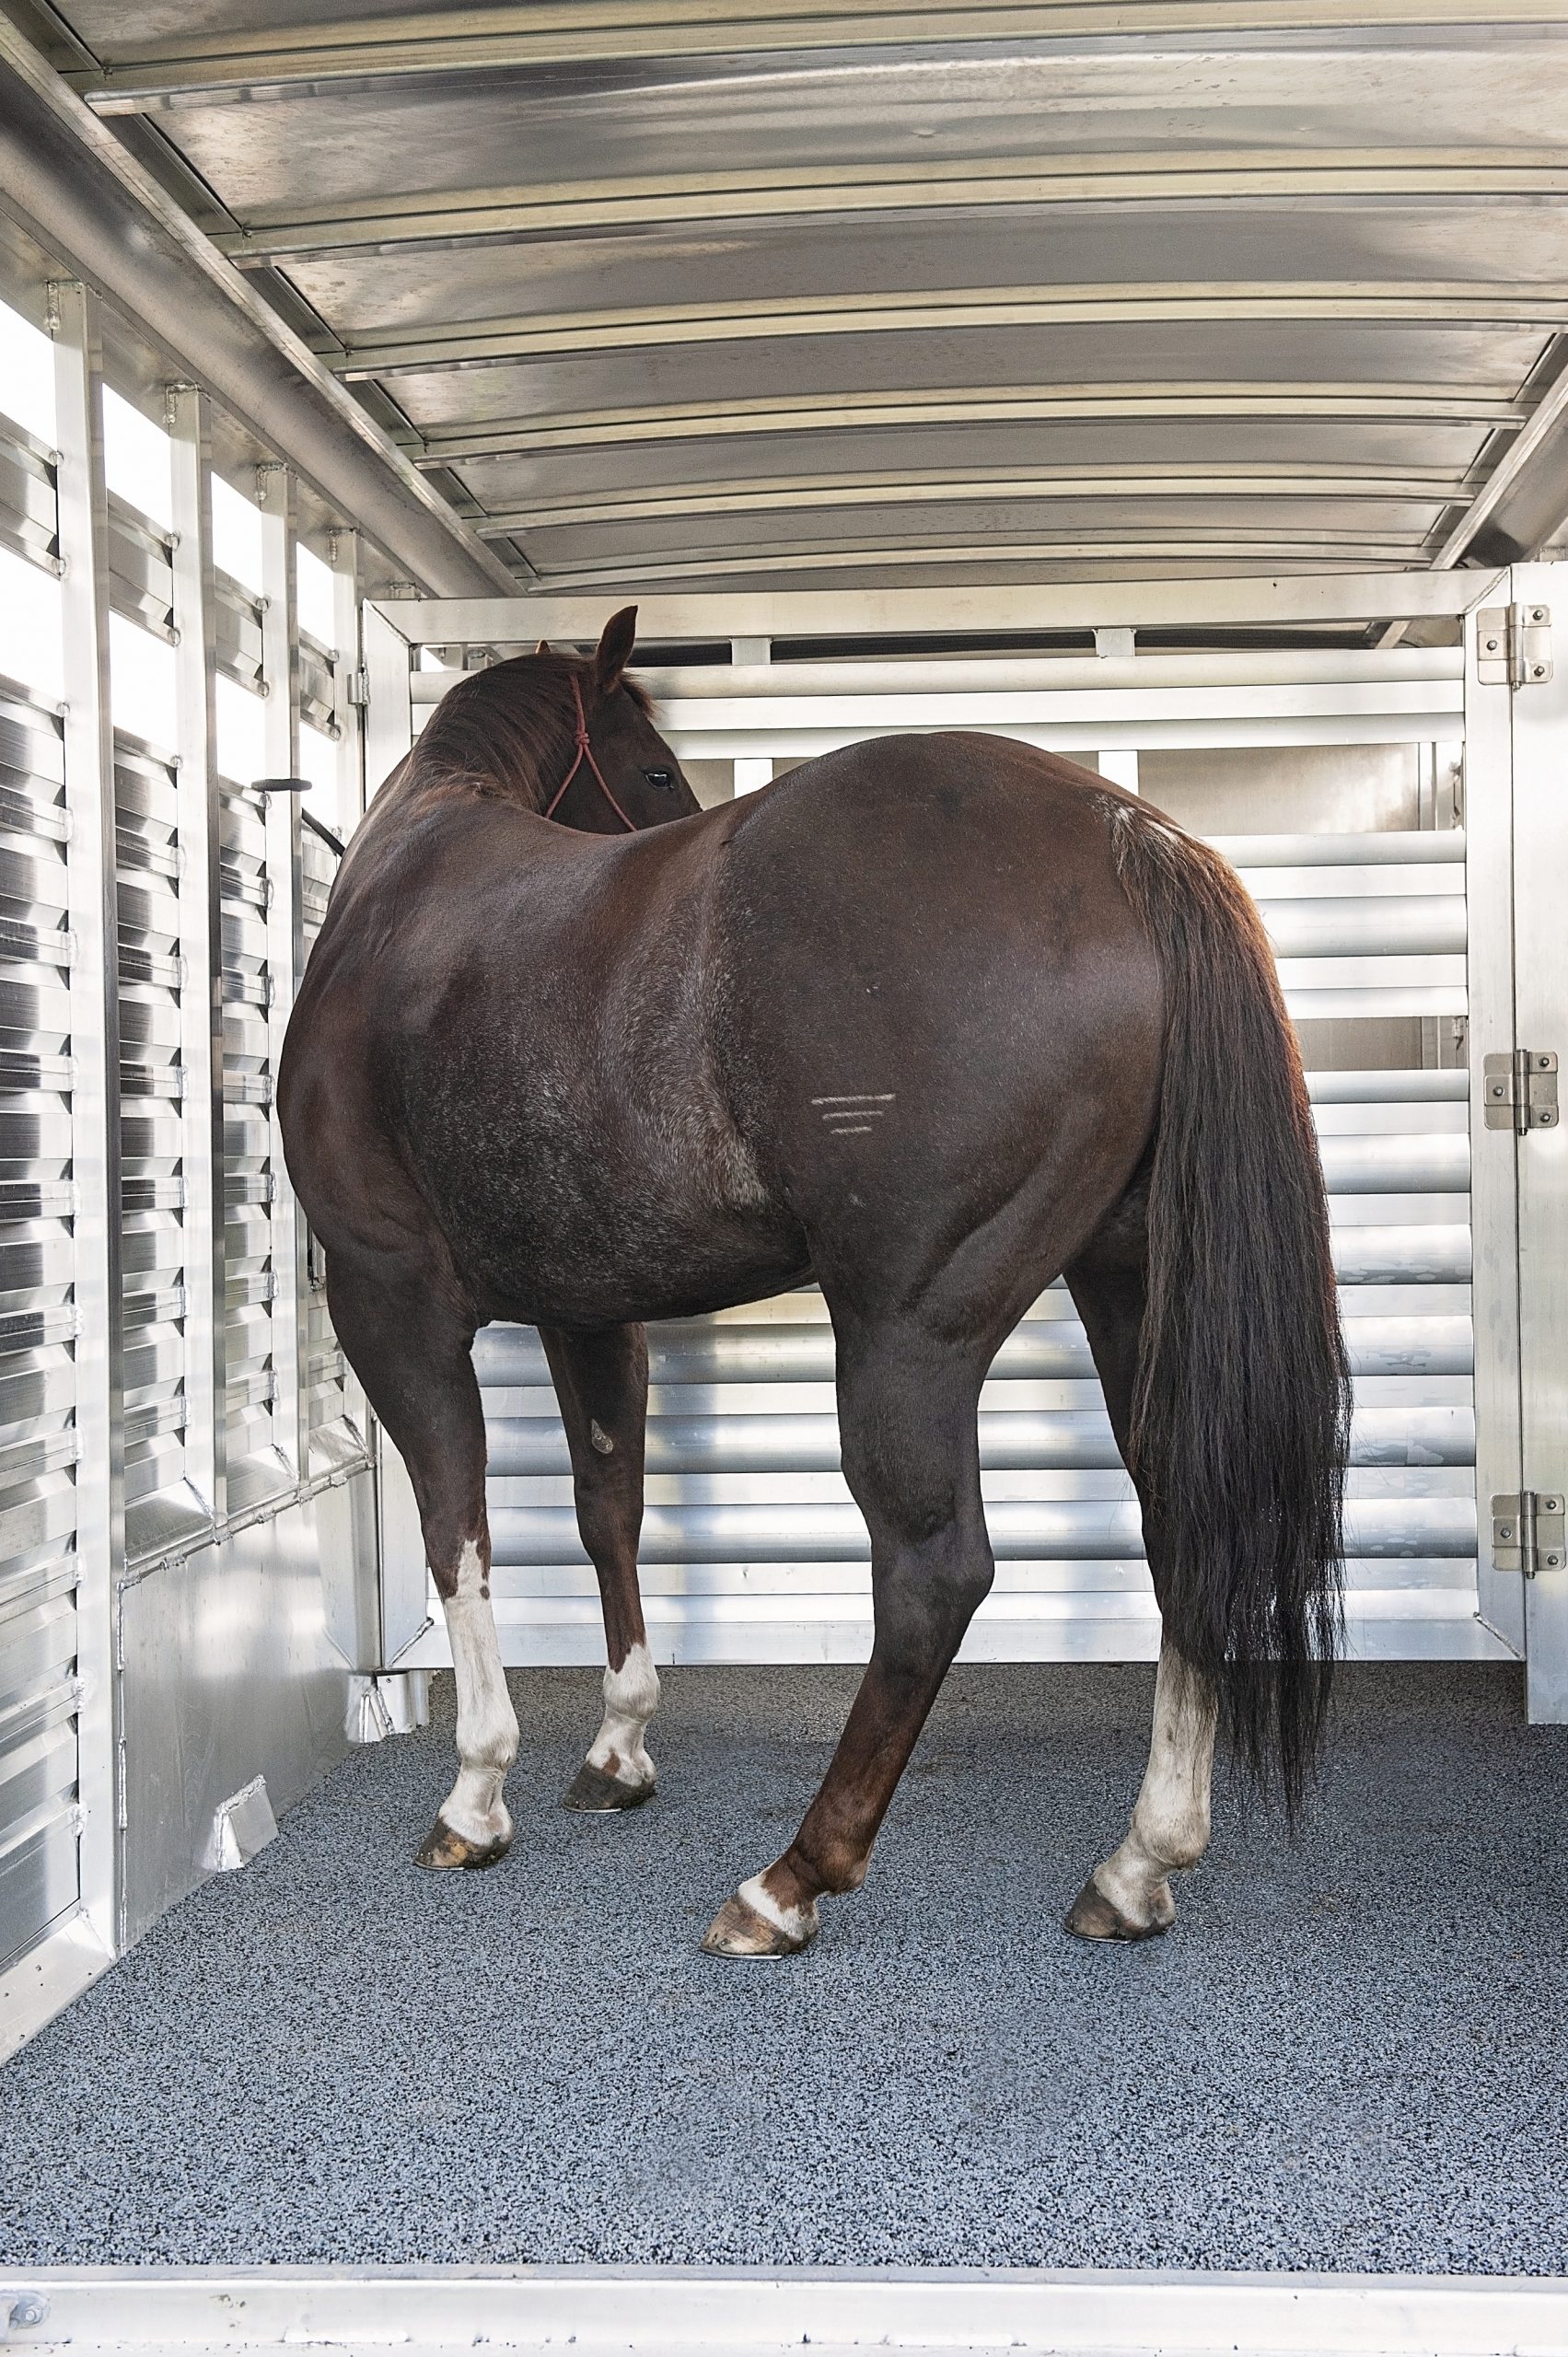


A trailer that locks its brakes is not giving you extra stopping power. It is telling you something is wrong. Trailer brake lockup can skid tires flat, swing a trailer out of line, and leave a horse, RV, equipment, or utility trailer difficult to control when the road gets slick. The good news is that the cause is usually traceable. The bad news is that simply turning down the brake controller may hide a mechanical or wiring problem that needs attention.
Before you tow again, determine whether all trailer wheels lock, one wheel locks, or the problem happens only under certain conditions. That detail cuts the diagnostic time dramatically.
What Trailer Brake Lockup Usually Means
On most pickup-towed trailers, electric drum brakes apply when the in-cab controller sends power to the trailer brake magnets. More controller output means more braking force. If that output is too high for the trailer’s weight, tire traction, and brake condition, the wheels can lock before the truck is near its own braking limit.
That is the simple version. In the real world, lockup can also come from uneven brake adjustment, contaminated brake linings, faulty magnets, damaged wiring, a bad ground, or a breakaway system that is partially activated. A hydraulic surge-brake trailer has a different set of suspects, including a sticking actuator, restricted brake line, failed master cylinder, or a seized caliper or wheel cylinder.
The first rule is straightforward: a properly set trailer brake system should help the truck stop firmly without dragging the trailer tires into a skid during normal dry-pavement braking.
Common Causes of Trailer Brake Lockup
Brake controller gain or boost is too aggressive
An overadjusted controller is the most common cause, particularly after changing trucks, trailers, loads, or brake controllers. A heavy equipment trailer that brakes well at a gain setting of 7 may lock its wheels when it is empty. Likewise, a controller’s boost setting can bring the trailer brakes in too quickly for a lightly loaded trailer.
Proportional controllers generally offer the best control because they respond to the truck’s rate of deceleration. Even then, calibration matters. Time-delayed controllers can be more prone to abrupt application because they ramp up braking based on a preset schedule rather than actual braking force.
Start with the manufacturer’s baseline setting, then test on a level, dry, low-traffic road. At roughly 20 to 25 mph, use the manual lever only. Increase gain until the trailer brakes apply firmly, then back it down enough that the tires do not lock. Do not set gain by feel from the driver’s seat alone. Test it.
Brakes are adjusted unevenly or incorrectly
Electric drum brakes need proper adjustment. When one brake assembly is adjusted much tighter than the others, that wheel can grab hard while the rest contribute little. This can feel like the trailer is tugging sideways or as if the truck is being bumped from behind on a stop.
Self-adjusting brake assemblies reduce the need for manual adjustment, but they are not magic. They still need correct installation, proper burnishing after new shoes are installed, and occasional inspection. Manual-adjust brakes need more regular attention. If the trailer has been sitting, has seen mud or water, or has accumulated many miles, inspect adjustment before blaming the controller.
Grease, water, rust, or worn brake parts
A leaking grease seal can throw grease onto drum brake shoes. Water intrusion, corrosion, cracked linings, damaged return springs, and grooved drums can also make a brake grab unpredictably. Sometimes the brakes lock only after several stops, when heat changes how a contaminated or damaged assembly behaves.
If one wheel repeatedly locks while the others do not, pull that hub and inspect it. Replace damaged shoes, magnets, seals, springs, and drums as needed. Do not install new shoes against a badly scored or heat-checked drum and expect a lasting repair.
Wiring, grounds, and breakaway switch problems
Trailer brake wiring lives underneath a trailer, where road spray, gravel, livestock washdowns, brush, and corrosion take their toll. A pinched wire or damaged insulation can feed brake power where it does not belong. A weak ground can create erratic brake behavior that is hard to reproduce in the driveway.
Inspect the trailer plug, junction box, axle wiring, and connections at every brake assembly. Look for green corrosion, loose crimp terminals, bare wire, and wires rubbing against sharp metal. Use properly sized wire and secure it where suspension travel cannot pull it tight.
Also inspect the breakaway switch. The pin must be fully seated, the cable must not be snagged or too short for turns, and the breakaway battery must be maintained. If the pin is pulled, the trailer brakes should apply fully. That is exactly what it is designed to do, but it should never happen while the trailer remains connected to the truck.
The trailer is empty, lightly loaded, or poorly loaded
A [trailer’s brakes] (https://mrtruck.com/truck-towing-capacity-guide.htm) cannot use traction the tires do not have. An empty flatbed, horse trailer, or utility trailer can lock far sooner than the same trailer carrying a load. Wet pavement, gravel, snow, tire wear, and hard tire compounds reduce that margin even more.
Load distribution matters, too. [Too little tongue weight} (https://mrtruck.com/how-to-measure-tongue-weight.htm) can make a trailer unstable, while a load positioned poorly over the axles can reduce the force holding tires to the road. Controller adjustment should match the trailer’s actual loaded condition, not the setting that happened to work on the last trip.
How to Diagnose the Problem Without Guessing
Begin with a basic road test on dry pavement in a safe area. Note whether lockup occurs with the truck brake pedal, the manual controller lever, or both. If it locks with both, controller output or trailer brake hardware is likely involved. If it happens only when using the truck pedal, review controller gain, boost, calibration, and the truck’s trailer brake settings.
Next, determine whether every wheel is locking. After a short, cautious stop test, feel near each wheel without touching hot components. One noticeably hotter hub or drum points toward a dragging or overactive brake at that location. A non-contact infrared thermometer is better and safer for this job.
With the trailer safely supported and wheels chocked as appropriate for the work being done, spin each wheel and apply the manual controller lever. The braking effort should be similar from wheel to wheel. A wheel that locks instantly, drags after release, or barely responds needs closer inspection. Never crawl under a trailer supported only by a jack.
If the brake assemblies check out, test the electrical side. Verify a clean ground path from the truck to the trailer and from the trailer frame to each brake circuit. Inspect connector terminals and measure voltage at the brake assemblies while the controller is applied. Voltage alone does not prove the system is healthy, but inconsistent readings between wheels often point directly to the problem.
For hydraulic surge brakes, do not apply electric-brake troubleshooting to a system that does not use it. Check whether the actuator slides freely, whether the master cylinder returns properly, and whether a caliper, wheel cylinder, or flexible brake hose is holding pressure. Hydraulic diagnosis can involve brake fluid and pressurized components, so a qualified trailer brake shop is money well spent when the fault is not obvious.
Fix the Cause, Then Set the Controller Correctly
Once the mechanical and electrical system is sound, reset the controller for the trailer and load you actually tow. Use the manual lever test first, then make several normal stops. The trailer should feel settled and supportive, not as if it is shoving the truck or anchoring itself to the pavement.
Do not chase perfect lockup as a setup target. The old advice to adjust until the trailer tires lock and then back off has value as a starting point on dry pavement, but tire grip changes quickly with load, weather, and road surface. The best setting gives strong, controlled braking with a little margin left before a skid.
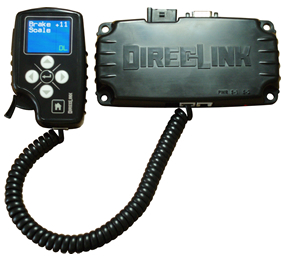
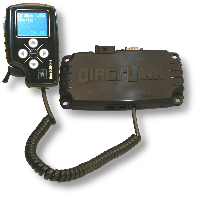
If your truck has an integrated controller, check the trailer profile and gain setting after switching trailers. If you use an aftermarket controller, confirm that its mounting angle, wiring connections, and setup procedure match the instructions for that unit. A quality proportional controller is a worthwhile upgrade when an older time-delay controller cannot deliver consistent control.
Keep It From Coming Back
Trailer brakes deserve the same routine attention as truck brakes. Inspect hubs, bearings, seals, brake adjustment, wiring, and the breakaway system at least annually, and sooner for high-mileage, commercial, farm, or [horse-trailer use] (https://mrtrailer.com/direclink-brakes.htm). Burnish new brake shoes and magnets correctly, because new parts do not perform at their best until they are seated to the drums.
Check your brake controller whenever the load changes significantly. A setting that is right for a loaded car hauler may be far too aggressive for an empty return trip. And if lockup begins suddenly after years of normal operation, treat it as a repair issue first, not a controller-adjustment issue.
Safe towing is built on equipment that behaves predictably when you need it most. For proven towing gear and brake-system accessories selected for serious haulers, [Visit our store] https://store.mrtruck.com/