


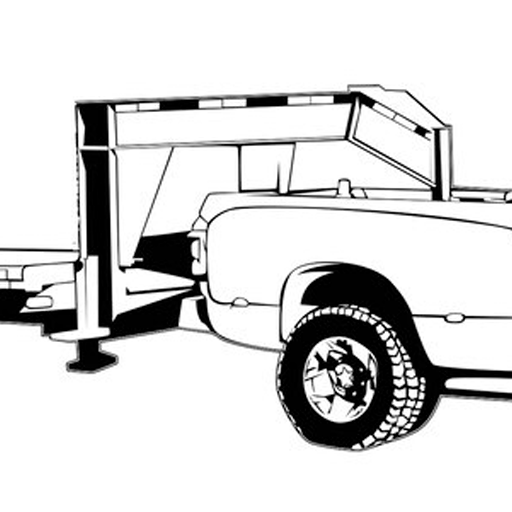
A gooseneck hitch is not a bolt-on accessory you want to guess at. The question, “how to install gooseneck hitch,” usually comes up after somebody has bought a horse trailer, equipment trailer, or RV and realizes the hitch has to carry serious pin weight through the truck bed and into the frame. Installed correctly, a gooseneck setup gives you a stable, strong connection. Installed carelessly, it can damage the bed, loosen hardware, or create a dangerous towing problem.
This is a practical job for an experienced do-it-yourself truck owner with the right tools, a safe place to work, and enough patience to measure twice. If drilling, lifting the truck, or working around brake and fuel lines is outside your comfort zone, have a qualified hitch installer handle it. There is no shame in that. A professional installation costs less than repairing a truck frame or trailer after a mistake.
Start With the Right Hitch for Your Truck
Before you pull out a drill, confirm that the hitch is designed for your exact truck year, make, model, bed length, and bed configuration. A hitch for one generation of heavy-duty pickup may look close to another, but frame dimensions, crossmember locations, and factory bed supports can differ.
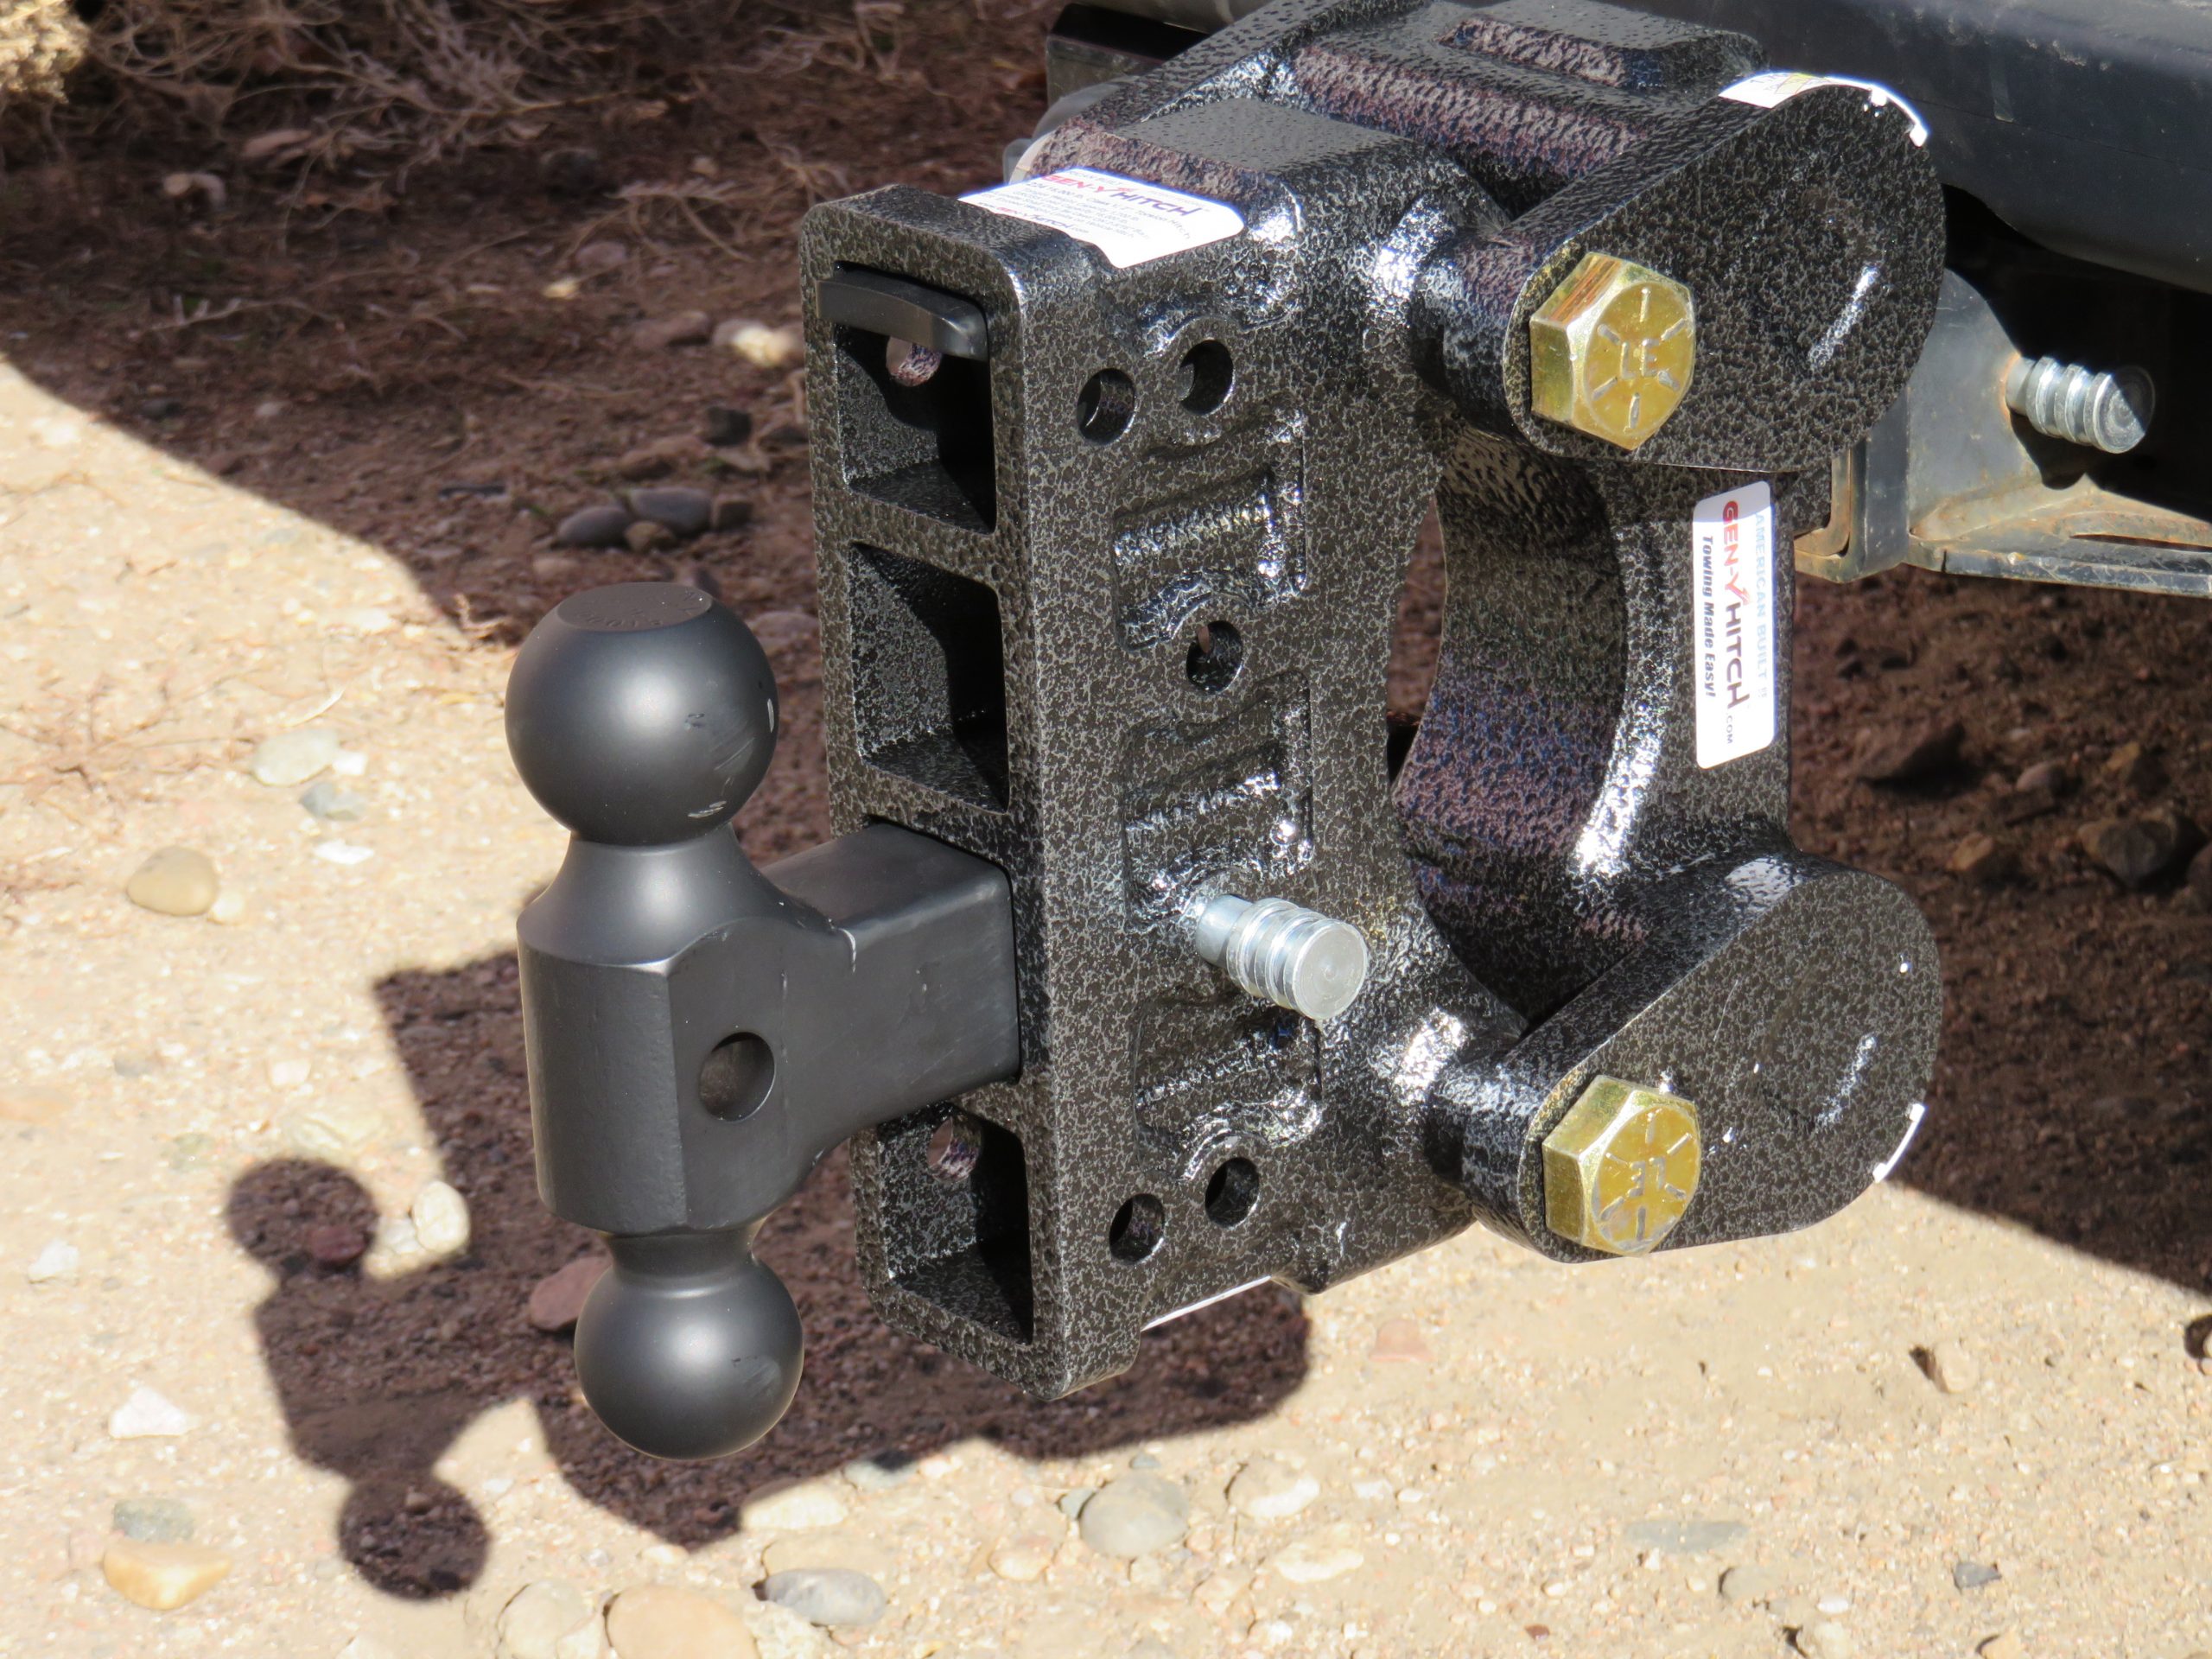
Most modern gooseneck hitches use under-bed frame rails and a center ball that sits in the bed floor. The best systems spread the towing load across both frame rails rather than relying on the sheet metal of the bed. If a hitch design places significant load on the bed floor alone, keep shopping.
Check the hitch rating against the truck’s actual limits. The hitch rating does not increase your truck’s gross combined weight rating, rear axle rating, tire capacity, payload, or factory tow rating. Your limiting number is always the lowest-rated component in the combination. A 30,000-pound-rated hitch does not make a three-quarter-ton pickup ready for a 30,000-pound trailer.
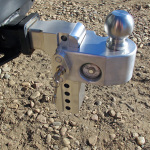
Also decide whether you need a fixed ball, a removable ball, or a turnoverball-style system. A removable ball leaves a flat bed when you are not towing, which matters to ranch operators, contractors, and anybody who uses the truck bed daily. Short-bed trucks may also need an offset ball, a coupler extension, or a compatible trailer design to maintain cab clearance in tight turns.
Tools and Prep Work Matter
Read the hitch manufacturer’s instructions from beginning to end before starting. Kit-specific details matter, especially bolt locations, torque values, drilling dimensions, and whether factory components must be moved or trimmed.
You will typically need a torque wrench capable of reaching the manufacturer’s specified range, sockets and wrenches, a drill, sharp drill bits, a hole saw of the correct diameter, a center punch, measuring tape, a marker, safety glasses, and rust-preventive paint. A floor jack and sturdy jack stands may be necessary for access under the truck. Never work beneath a truck supported only by a jack.
Remove bed mats, drop-in liners, and loose cargo before measuring. Spray-in bedliners generally are not a problem, but thick coatings can make measurements less precise and may need to be carefully trimmed at the ball opening. Clean the bed floor so you can mark it accurately.
Before drilling anywhere, inspect beneath the bed. Locate the frame rails, fuel tank, brake lines, wiring harnesses, spare tire, exhaust, and heat shields. The center ball hole is normally located using dimensions supplied by the hitch manufacturer, measured from a specific bed reference point. Do not assume the center of the bed is the correct location.
How to Install a Gooseneck Hitch Step by Step
The central work is mounting the cross rails to the truck frame, placing the hitch assembly between those rails, and cutting the bed opening exactly where the ball belongs. The sequence varies by kit, but the principles stay the same.
Position the Frame Rails
Raise the rear of the truck only if the instructions require it for clearance. Use jack stands placed under solid frame points and chock the front wheels. Lower or remove the spare tire if it blocks access. On some trucks, exhaust hangers, heat shields, or brake-line brackets must be temporarily moved.
The cross rails generally slide above the frame rails and below the bed floor. This is the part where a second set of hands helps. Work carefully around wiring and lines. Do not force a rail into place with a hammer if it is binding against a factory component. Stop and find out why.
Attach the side brackets and cross rails with the supplied hardware, but leave bolts loose enough for adjustment until the center hitch section is in position. Use only the supplied bolts, washers, spacers, and locking hardware. Substituting a random hardware-store bolt can compromise both fit and strength.
Mark and Cut the Bed Opening
With the under-bed structure positioned according to the instructions, mark the ball location from inside the bed. Measure from the specified reference point at least twice. Then check the mark from below to make sure it aligns with the hitch center section.
Start with a small pilot hole. This lets you verify the location before committing to the full opening. If the pilot hole is off, correct it now. Once you are certain, use the correct hole saw to cut the ball opening. Keep the drill square to the bed floor and use steady pressure.
After cutting, remove sharp edges and coat exposed metal with rust-preventive paint. Bare steel around a hitch hole can start rusting quickly, particularly in wet climates or areas where roads are salted. If your kit requires additional holes for safety-chain anchors, measure those with the same care.
Install the Center Section and Safety-Chain Anchors
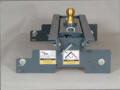
Fit the center hitch section between the cross rails and align all hardware. Install the ball latch mechanism, release handle, and any retention components exactly as directed. A removable ball must lock positively in place. Test it several times before towing anything.
Install the safety-chain anchors through the bed and secure them to the hitch structure below. The chains should connect to dedicated anchors, not to the ball, bed tie-downs, or improvised loops. Safety chains are your backup connection if the coupler fails, so this is not an area for shortcuts.
Now tighten the hitch hardware in the sequence specified by the manufacturer. Torque every fastener with a calibrated torque wrench. Do not use “good and tight” as a torque specification. Under-torqued bolts can loosen, while over-torqued bolts can stretch or fail.
Check Clearance Before Hooking Up
A hitch can be installed perfectly and still be a poor match for the truck and trailer. Before your first loaded trip, back under the trailer on level ground and inspect the connection.
You need clear space between the underside of the trailer overhang and the truck bed rails. You also need enough distance between the trailer nose and the truck cab during sharp turns. Six inches of bed-rail clearance is a commonly accepted minimum, but more is better when traveling over uneven ground. Horse trailers and equipment trailers often see driveways, fields, and job sites where the truck and trailer twist independently.
Check that the trailer sits level or close to level when coupled. A trailer that rides nose-high shifts weight rearward and can reduce stability. One that rides excessively nose-low can overload the truck’s rear axle and tires. If the trailer is not level, the solution may be coupler adjustment, suspension changes, tire-size considerations, or a different ball height. Do not simply accept a bad towing attitude.
Final Inspection and First-Tow Routine
Before towing, make sure the ball is fully locked, the coupler is latched, the safety chains are crossed and connected, the breakaway cable is attached to the truck, and the electrical plug is secure. Test all trailer lights and brakes. Then perform a slow pull test: apply the trailer brakes manually, ease the truck forward, and confirm the trailer is connected and stopping as it should.
After the first short trip, recheck the hitch hardware, ball latch, chain anchors, and bed opening. Look underneath for shifted brackets, shiny rub marks, or any wiring and brake lines that may be contacting the new hitch structure. Recheck torque after the interval specified by the hitch manufacturer, then inspect it as part of your normal trailer maintenance routine.
A properly installed gooseneck hitch should disappear into the background while you tow – no clunks, no shifting, no uncertainty. If you need proven towing hardware, replacement parts, trailer safety equipment, or straight answers before you buy, visit the MrTruck Store for gear selected for serious truck and trailer owners.